Start MSVPC 2007 by double-clicking the VPC icon on your desktop.
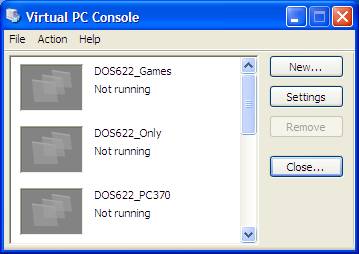
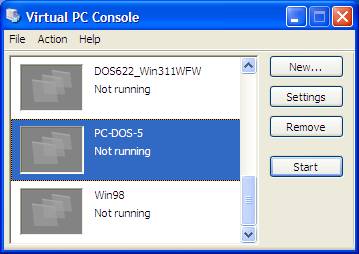
The Virtual PC Console displays. Click the NEW button to continue.
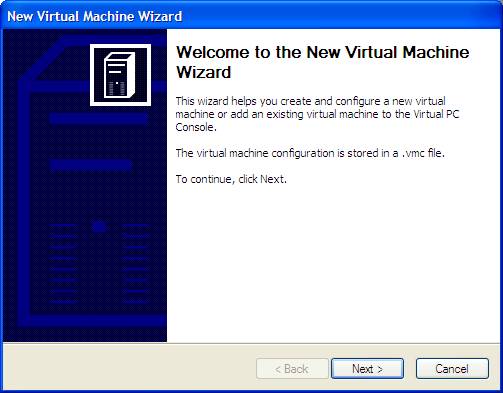
The new Virtual Machine Wizard displays. Click the NEXT button to continue.
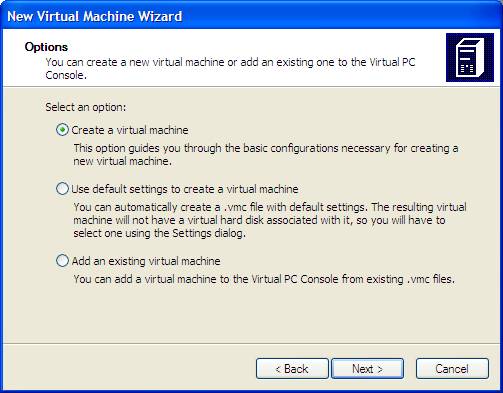
Select the option to Create a virtual machine. Click the NEXT button to continue.
Enter the name and location of the new VM. Click the NEXT button to continue.

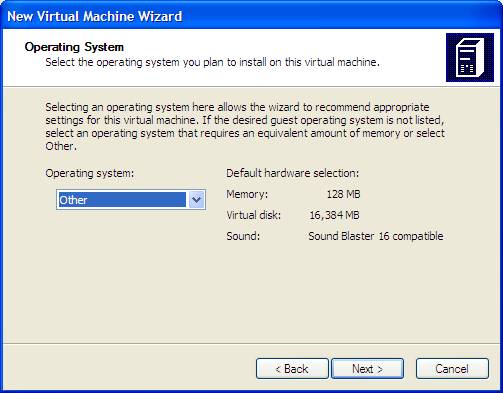
Select the type of Operating System for the new VM. In the case of DOS, select Other. Click the NEXT button to continue.
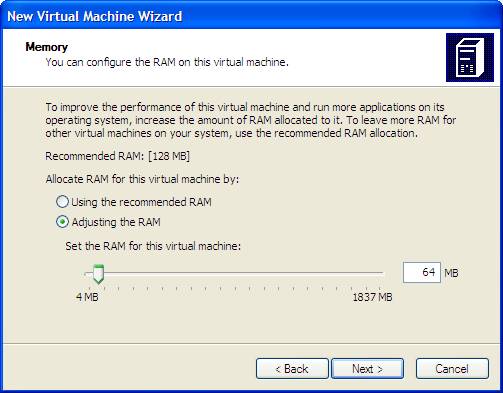
Adjust the RAM size. In this installation, it is set to 64MB. Click the NEXT button to continue.
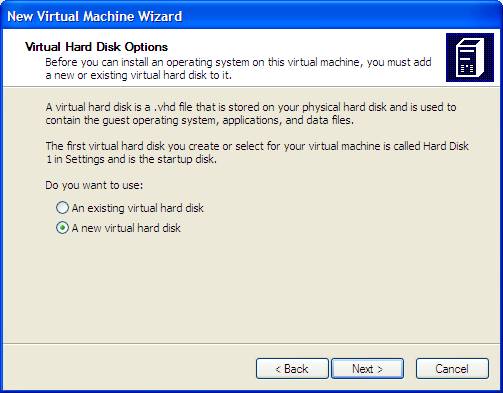
Select Virtual Hard Disk (VHD) option. Click the NEXT button to continue.
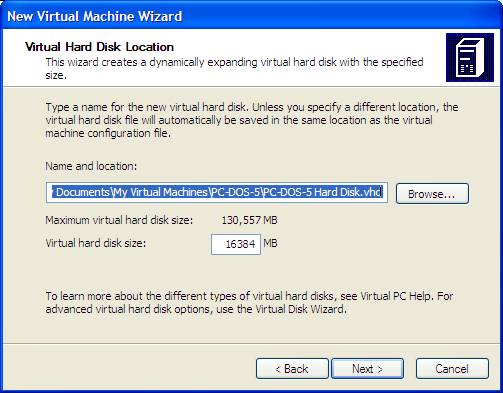
Select VHD name and location. Click the NEXT button to continue.
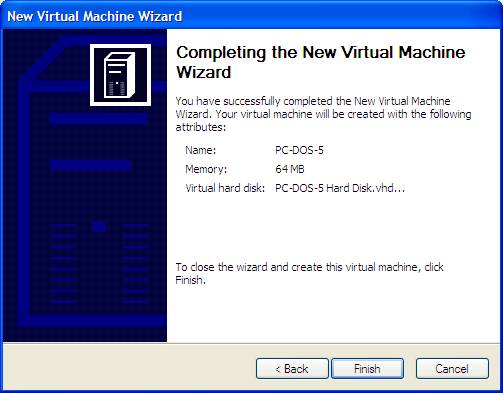
Click the FINISH button to complete the new virtual machine wizard.
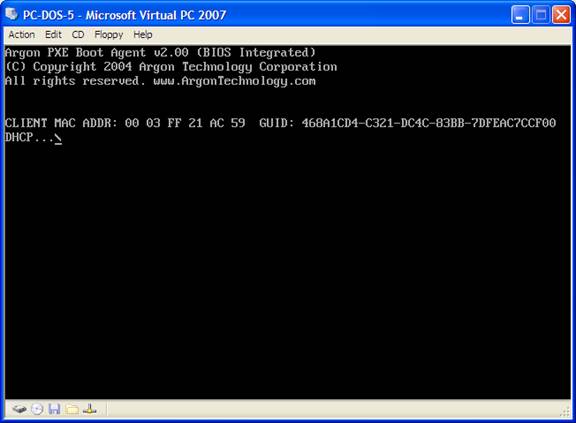
Using the Virtual PC Console, start the new VM. Double-click on the PC-DOS-5 entry to boot the new VM.
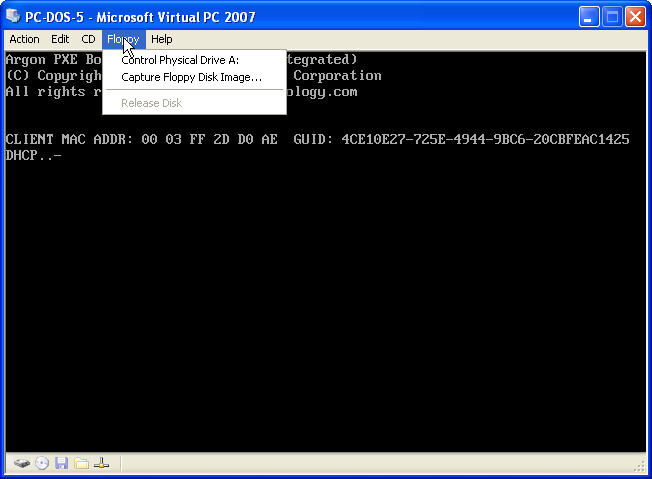
By default, the new VM attempts to start from a PXE (Preboot Execution Environment) booting agent. Interrupt the booting agent by using the Floppy menu item, select Capture Floppy Disk Image from drop-down menu.
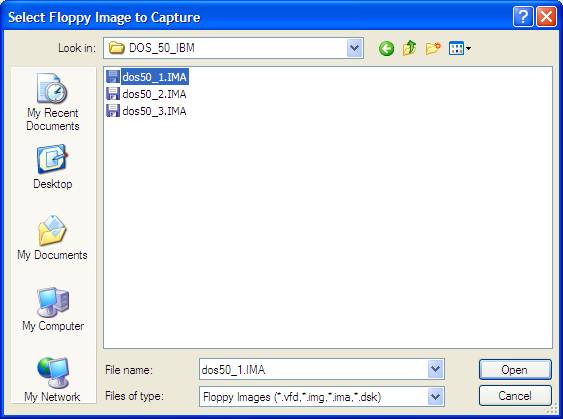
In this example, the IBM DOS 5.0 installation disks exist as virtual floppy disks in the form of IMA (image) files:
dos50_1.IMA,
dos50_1.IMA and
dos50_3.IMA.
After the Capture Floppy Disk Image selection, an explorer window is displayed. Select DOS 5.0 Disk 1 and click the OPEN button to continue.
Reboot the VM via the ACTION option on the menu bar. Select the ctrl+alt+del drop-down menu item to restart the DOS VM.
IBM DOS 5.0 install will start. Follow the prompts to complete the installation of DOS 5.0 on your new VM.

Enjoy your DOS 5.0 VM!
You will need to manually install mouse, CD-ROM and file share support via DOS VM Additions at this post.